How to set up various types of locally hosted databases
TABLE OF CONTENTS
Database Options
VeriScan has a few different ways you can save your database depending on the overall setup of your business: Local, Microsoft SQL Server, and Online Cloud Server.
These options can be accessed through VeriScan by navigating to the Setup tab then clicking on Set Data Sources.

Local Database File
For single desktop installations and small businesses, you can store the database file on one of the computer's local drives or a network drive.

Hosting this on a network drive will allow multiple computers to utilize it in a client server environment.
The default path for this local database file will be C:\ProgramData\Nautilus\VeriScan.
To move where the database file is read from and written to, click the Browse button and navigate to the desired directory.
If you wish to transfer the local database to another computer, go here.
SQL Server
For larger businesses that require high throughput and added redundancy and decentralization, we suggest using an SQL Server.
This allows the use of a more seamless and secure networked environment for all connected VeriScan users.

We currently only support the use of Microsoft's SQL Server versions, though any SQL Server should work.
We recommend using SQL Server 2008 or later.
Windows 7: SQL Server Express
Windows 10: SQL Server Express
IDScan.net no longer provides tech support for our SQL integration. However will still try to fix bugs and integration issues.
We highly recommend switching to our managed VeriScan solution, VeriScan Cloud.
VeriScan Cloud
VeriScan Cloud is our managed cloud-based syncing solution for VeriScan Online customers.
Syncing across not just Desktop Veriscan, but VeriScan Mobile and VeriScan workstation. It also comes useful remote management features for our customers.
You can sign up and learn more about VeriScan Online by clicking here. We also have a manual here and useful guides here.
Once you sign up on VeriScan Online, you can refer to your welcome email, which holds your first device login.
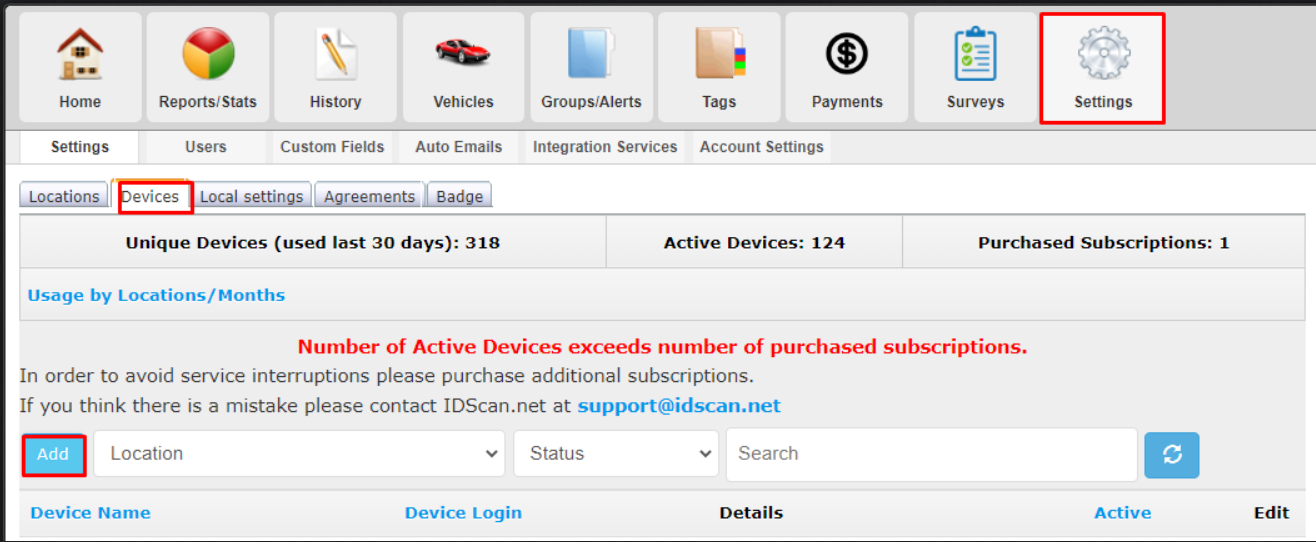
If you wish to create more, you can navigate to the Settings > Devices tab on VeriScan Online and click "Add" to create a new device login.
You can create as many logins as you want during your free trial, but you will be billed per account after the trial ends.
For more information on device creation and management through VeriScan Online, go here.
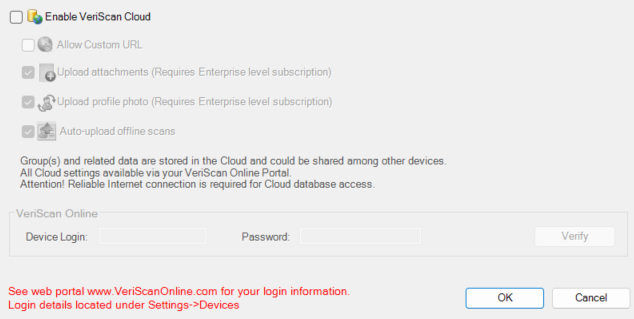
Finally, you can login to your VeriScan Online account inside of VeriScan Desktop by going to Setup > Set Data Sources.

Then at the bottom, fill out the Device Login and Password, and click Verify to make sure they are both correct.
Now you can enable VeriScan cloud functionality. Just tick all of the boxes that are provided by your subscription tier.
If you're unsure which login to use, refer back to the welcome email you received after signing up with VeriScan Online or create a support ticket here.