TABLE OF CONTENTS
Identifying the COM Port Assigned to Your Scanner
Make sure your device is plugged in and the driver is installed.
Open the Windows Device Manager.
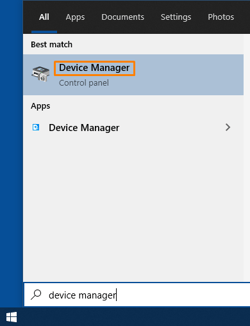
For Windows 10:
Right-click the start menu and select Device Manager, or click the start menu and type "Device Manager" to search for it.
For Windows 7:
From the desktop, click Start > Control Panel > System and Security > Device Manager
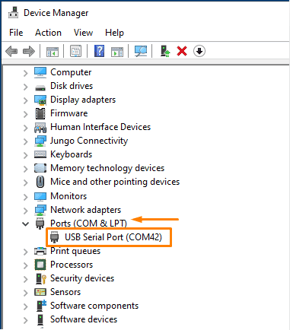
In Device Manager, expand the "Ports (COM & LPT)" tab by clicking the small arrow.
Listed here will be an entry labeled "USB Serial Port (COM#).
The number following "COM" will be the COM port assigned to your device.
In the above example the scanner is assigned to COM Port 42
Connecting your device to VeriScan or ParseLink
If you have any questions or run into any issues getting set up, do not hesitate to reach out to the support team:
Generate a ticket here.
Contact support@idscan.net or call 631-380-8121.