What are the best practices for scanning an ID with a flatbed scanner?
How to get the best quality images scanning a driver's license or identification card by scanning both sides with your flatbed scanner.
Scanning Both Sides of Your ID
Remember these three tips to always get the best quality images of your ID:
- Scan in the far-left corner of the scanner for optimal alignment.
- Remove your hand while the images are being captured.
- Always use the hood to block out ambient light.
|
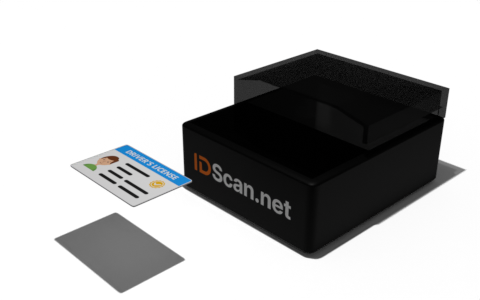
1. First, insert the ID into the scanner barcode-side down.
2. Push the ID up against the back and left walls so it aligns with the far-left corner. |
 |
|
3. White, infrared, and ultraviolet lights will flash, capturing the first side.
4. You should hear a beep to indicate the images are being captured. |
|
|
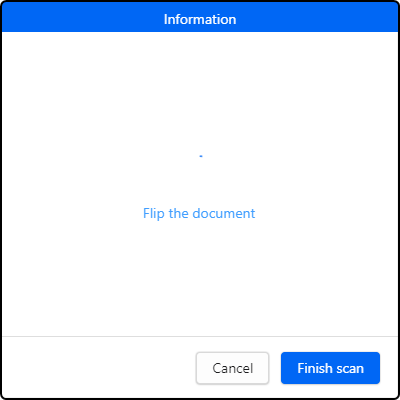
5. When you see a prompt to flip the document, remove the ID from the scanner.
6. For two-sided documents, especially when using the Authentication SDK, you must flip the document over and scan the second side.
7. For one-sided documents, you can press finish scan now. |
 |
|
8. Flip it over so the barcode is facing up and reinsert to the back and left.
9. Remove your hand once the ID is square with the back left corner of the scanner. |
 |
|
10. White, infrared, and ultraviolet lights will flash, capturing the second side.
11. You should hear a beep to indicate the images are being captured. |
|
|
12. You should see the scan results appear within a few seconds.
13. You may now remove the ID from the scanner. |
|
Once you've successfully scanned an ID, open an image preview for the captured images. Make sure the photos are clear and the ID is properly cropped, until you get the muscle memory down.
We recommend scanning 15-20 IDs, checking the quality of the images after each scan, to ensure that you are capturing high quality images. This is critical to ensure the tests we run on the ID images have accurate results.
