Flagged Faces is currently a beta feature available to ID Authentication subscribers. Contact your account representative to gain access.
Searching for a Face
Method 1 - History
Click History.
Click into the Details of a history entry.
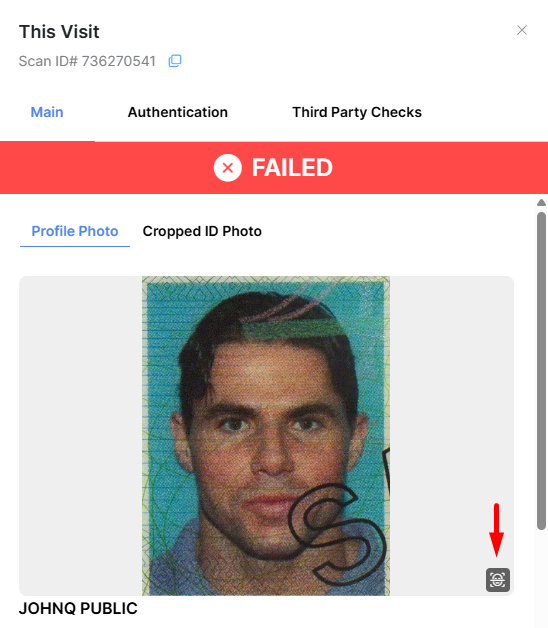
On the Profile Photo tab or the Cropped ID Photo tab, click on the 'search for matching faces' button.
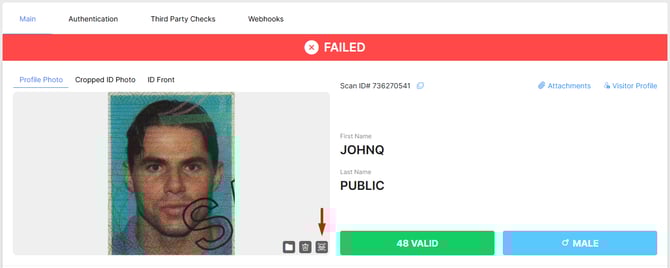
Alternatively, you can click on the name in the history table to open the This Visit window.
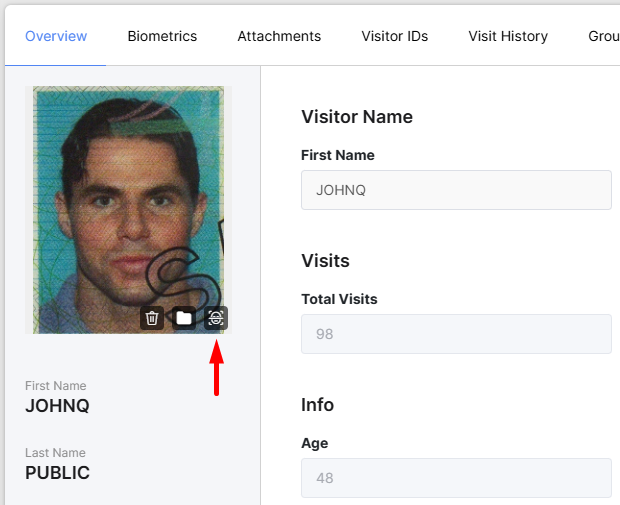
Method 2 - Visitors
Click on Visitors > Identities.
Click into the Details of one of your visitors.
Click on the 'search for matching faces' button.
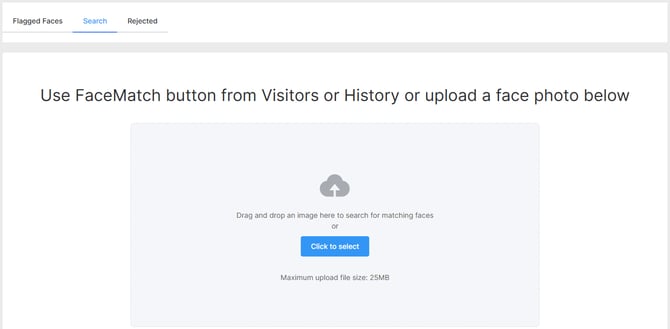
Method 3 - Photo Upload
Click on Visitors > Face Match.
Drag & drop your image or use the Click to select button.
Adding Faces to Your Flagged Faces List
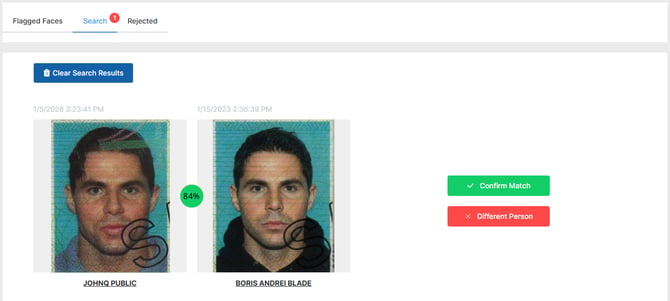
Matches are Found
If matches are found, confirm that they are of the same person by clicking Confirm Match. In the confirmation pop-up, click OK to add this face to the Flagged Faces list.
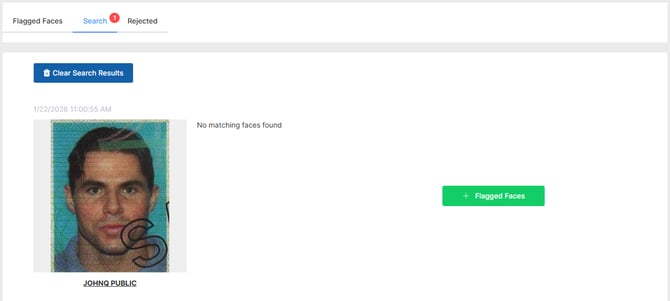
No Matches are Found
If no matches are found, but you want to be alerted if someone matching this face is scanned in the future, click +Flagged Faces, then in the confirmation pop-up, click OK to add this face to the Flagged Faces list.
View your Flagged Faces list
List of faces
In the Flagged Faces tab, you will see a list of every face that has been added to the Flagged Faces list, with related history entries and locations linked for them.
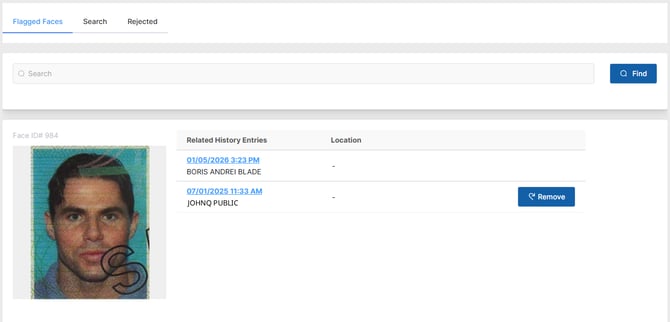
Remove button
If someone was added to the list by accident or has been cleared of suspected fraud, you can use the Remove button to remove them from the Flagged Faces list. This does not erase their History entries.
User Permissions
Search Matching Faces
This permission allows the VeriScan Cloud portal user to view and use the Visitors > Faces section, as well as click the Search for matching faces button from History > Details and a Visitor Profile. Users with this permission are unable to view the Flagged Faces list.
Edit Flagged Faces
This permission allows the VeriScan Cloud portal user to view and use the Visitors > Faces section, as well as click the Search for matching faces button from History > Details and a Visitor Profile. Additionally, they can click the Confirm match button from face match results, and add faces to the Flagged Faces tab. They can also view and remove faces from the Flagged Faces tab.
Admins can perform all actions associated with flagged faces.