How do I use SSO (single sign-on) to access my IDScan.net products?
How to set up your my.IDScan.net account to use SSO.
Intro
IDScan.net currently supports the following SSO providers with the OIDC or SAML 2.0 protocol:
| Entra ID | OpenID Connect | Okta | |
With the exception of Google, you must first create an account using an email and password before you can set up your SSO options. If using Google, simply click the Sign in with Google option to create and sign into your account.
- VeriScan Sign-up
- ParseLink Sign-up
- Product not listed? Contact your account rep to get started.
Adding an External Provider
- Once your account has been created, log into your account at my.IDScan.net.
- Click on External Providers.
- Click on Add External Provider.
- Enter a name that is used to identify the provider. For example, if using Entra ID, simply name it Entra ID SSO.
- Select the SSO provider you'll be using from the Type dropdown. If setting up your provider using the SAML 2.0 protocol, select the SAML 2.0 option from the dropdown. The default protocol is using OIDC.
- Type in your provider domain.
- Enter your Tenant ID if using Entra ID.
- Click Add Ext Provider.
- Click on the ••• button to the right of your newly added provider under the Actions column, then Details.
- On the Details page, enter any relevant information from your provider such as your Identity Provider URL, Client Secret, and Client ID.
- Copy the Callback Path and Sign Out Callback Path listed back into your provider settings.
- Select Save Changes.
MyApps with Entra: If you want to be redirected to the VeriScan Cloud portal when using the MyApps feature with Entra, enter the Sign in URL in the Home page URL field in the Branding & properties section of the VeriScan app in Entra.
Additional Options
- Require SSO to sign in - Enabling this option will restrict users from using their my.IDScan.net email and password to sign in (if they previously had one) and will be able to use their single sign-on credentials.
- User creation - Enabling this option will allow for new users to be created in the my.IDScan.net portal when they attempt to sign in using the appropriate SSO method. Access to the my.IDScan.net product must first be granted to this user on the external provider's side.
- Default Permissions for new users - Default permissions for when users are created can be defined here:
Default Permissions
These additional options do not apply to Sign in with Google. New users must first be manually created in the my.IDScan.net portal. When the user attempts to use the Sign in with Google option and their email address matches the one set in the portal, a confirmation window will appear asking them to merge the user login. If their user does not already exist, it will proceed to make them an entirely new account instead.
Signing in
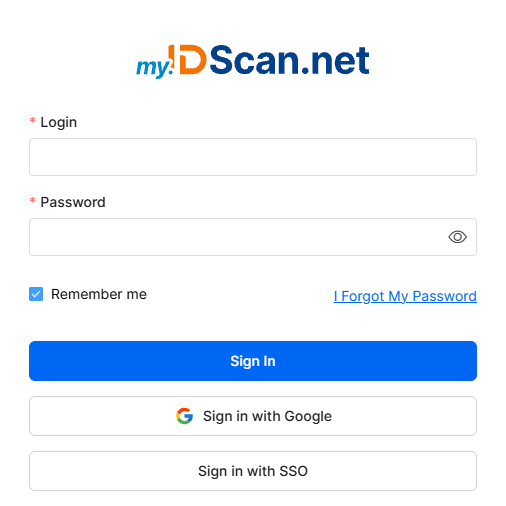
To sign in using your chosen single sign-on provider, select Sign in with SSO, ensure your login is entered, then select Continue with SSO.
