Applies To
IDWare 9000 Plus devices purchased from the IDWare Amazon Store.
For devices not purchased from our Amazon store, click here.
Device Overview
The IDWare 9000 Plus comes with 3 side buttons on either side and a touchscreen navigation bar at the bottom of the screen. It also has a 3 physical buttons on the front.
| Left Side Buttons | Front Buttons | Right Side Buttons |
|
|
|
| Left Side | Main Screen | Right Side |
 |
 |
 |
Device Setup
Before you can use the VeriScan app with your IDWare 9000 Plus scanner, you must first connect to WiFi and sign into your Google Account. Afterwards, you can check for updates to VeriScan for Android, sign in, and start scanning.
First-Time Setup
- Turn on the device by holding the power button on the left of the device.
- Swipe up on the lock screen to unlock your device.
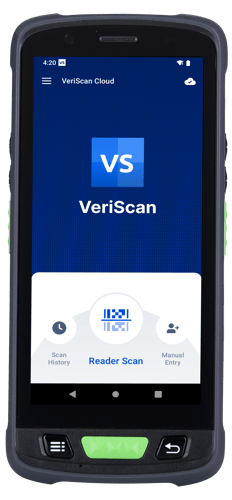
- You should see the VeriScan app on your home screen.
If your device does not have VeriScan preinstalled, you can follow this guide to set your device up. If you have any questions about this process, contact technical support.
WiFi Setup
- Swipe up on the background to open the apps drawer.
 |
|
|
 |
|
 |
- Search for your WiFi network and tap it in the list.
- Enter your password and wait for the device to connect to your WiFi network.
|
 |
- Tap the Circle button in the bottom navigation bar to go to the home screen.
Google Play Setup
- Swipe up on the background to open the apps drawer.
 |
|
- You may see a message that states "Updating Google apps..."
|
If you don't want to use your personal email, talk to your IT team about creating a new Gmail account just for VeriScan. It only takes a few minutes and it's free!
Getting Started with VeriScan
Creating a new VeriScan Account
Are you a new customer?
Create a VeriScan Account so you can sign into the VeriScan app.
If you have not signed up for a VeriScan account, you can use one of these guides to get started. After you have completed the steps, be sure to click on the VeriScan for Android Setup option at the bottom of the page.
 |
VeriScan Basic | Create a new VeriScan Basic Account |
Using VeriScan on Your Android Device
Once you have a VeriScan Account, you are ready to launch the app, connect it to your account, and start scanning. To get started, you can use this guide:
| VeriScan for Android |