|
|
This article is out of date! |
|
Please download the latest version of VeriScan for Android from the Google Play Store. The new app overview guide can be found on our knowledge base. If you require assistance migrating to the new app, read this installation guide or reach out to our technical support team. |
|
TABLE OF CONTENTS

Introduction
Take advantage of the extra screen real estate: VeriScan Online is now more intuitive and informational than before.
Read and sign agreements while your scan profile is still up, edit a visitor's group while also viewing the scan history, and so much more with this complete redesign while still having all the features of our portable devices.
Logging In
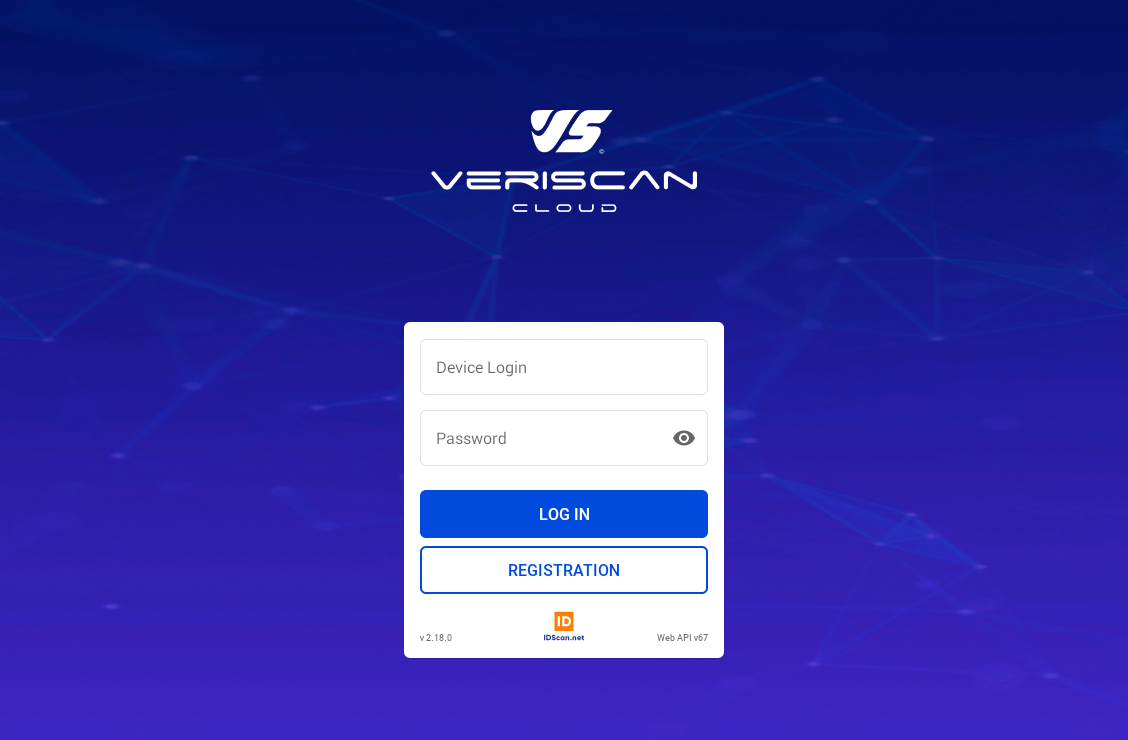
Device Login
When you first launch the app, you'll be greeted with this screen:
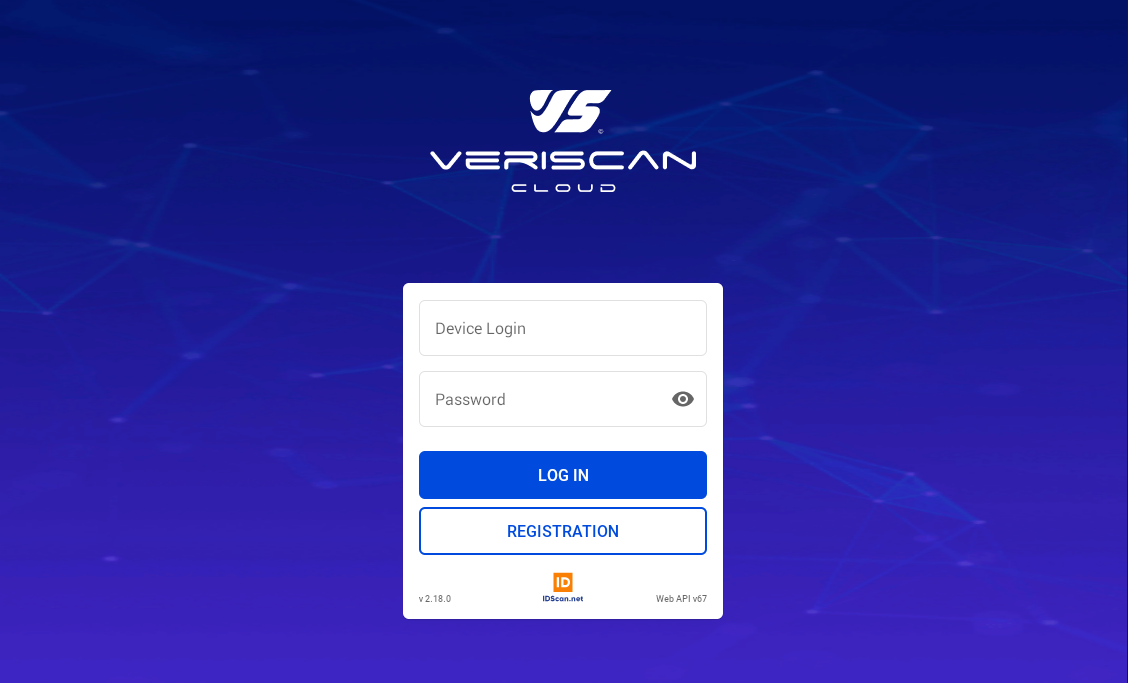
Here you can enter your Device Login and Device Password from your veriscanonline.com portal.
If you already have an account, you can create a new device login for this device.
- Log in to veriscanonline.com
- Click the Settings button
- Click the Devices tab
- Click the Add button
Registration
If you haven't created an account yet, you can do so right inside the app by tapping the Registration button.
If you already have an account, please login to veriscanonline.com and create a new device login.
Before we can make a new account for you, we need to know some basic information about the Owner of the Account :
- Who are you?
- What is the name of you Organization?
- What is your First Name?
- What is your Last Name?
- Contacts
- What is your Phone Number?
- What is your Email Address?
- Any Comment you may have during setup. (optional)
- Additional Info
- What is your Industry?
- What is the approximate Number of Devices you will be using?
- Are you Located in the USA? (optional)
- Do you Already have hardware? (optional)
Click the Register button when you have entered all of the required information.
You should receive an email shortly with your login information.
You should receive 2 separate logins: 1 for the portal and 1 for your device.
Your Device Login can be used to log into this device now to begin scanning.
Your Portal Login can be used to sign into veriscanonline.com and manage your account.
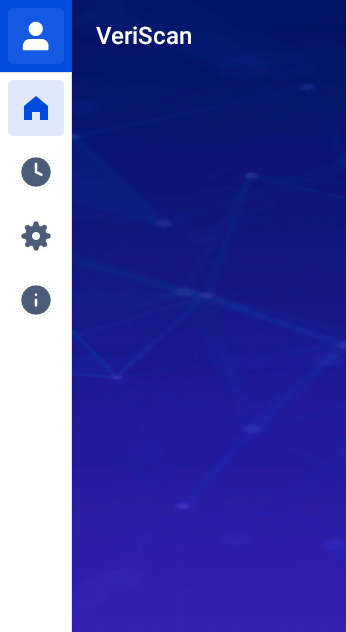
Home Screen
Synchronization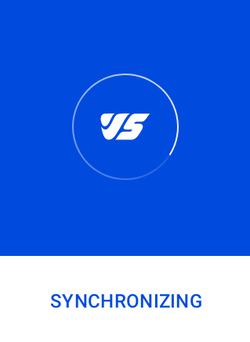
- Scan History
- Groups
- Alert Lists
- Device Settings
- When your device signs in at first launch
- When you're switching from OFFLINE mode to ONLINE mode
- After a scan (only a single entry will sync)
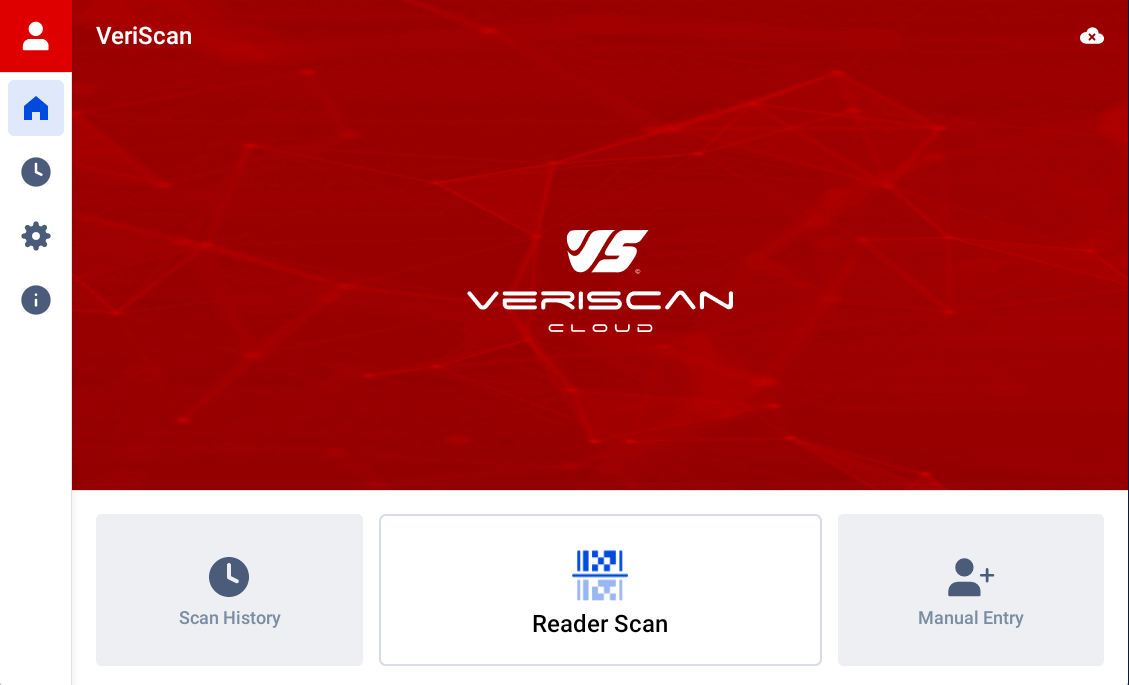
Home Screen
After synchronization is complete, you should see the following screen.
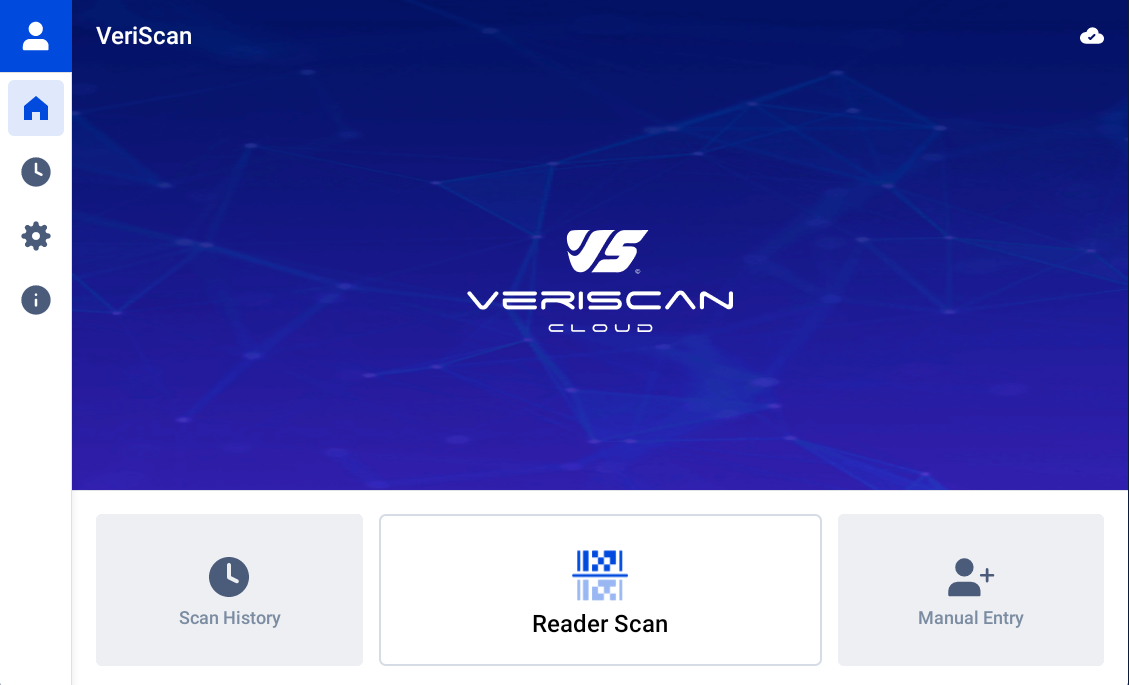
From here, you'll see the sidebar with the option to switch between the main menus.
You'll also see a button bar with options for the Scan History as well as Manual Entry.
In the center of the button bar, you'll see an indicator for the scanning mode.
If you're using one of our IDWare Falcon scanners, the laser should automatically fire when you're on this screen.
You can scan PDF417 barcodes on Driver's Licenses and Government Issued IDs, just like with our other laser scanners.
If you're using a different Android device, you may want to enable the Camera button.
This will use the integrated camera to scan the PDF417 barcode and parse the ID data.
Head to Settings Screen > Interface Customization to find the toggle for the Camera button.
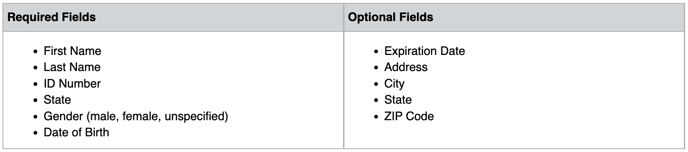
Manual Entry
If your visitor doesn't have their ID, or their ID will not scan due to wear, consider using the Manual Entry button.
Pressing the button will bring up the following screen:
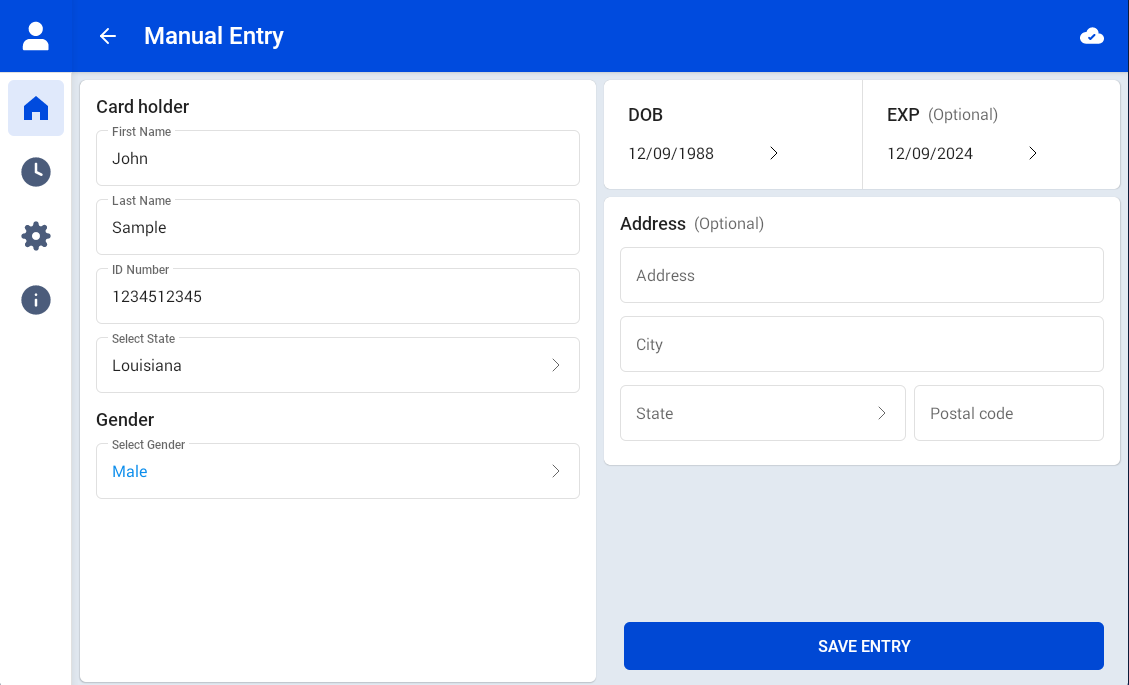
Tap the Save Entry button when you have entered all the necessary information.
If the button is greyed out, you are missing one of the required fields.
Offline Mode
If your device is disconnected from the internet, it will switch into OFFLINE mode.
You'll know your device is offline when the background changes from blue to red.
You can force your device offline by pressing the Cloud icon in the top right corner of the screen.
- Cloud with ✓ - ONLINE Mode
- Cloud with X - OFFLINE Mode
In OFFLINE mode, you'll still be able to scan but some features may be limited.
The app will attempt to download the saved groups, alert list, and other crucial information.
This way, the app can still check the cached version of the Alert List in case a banned visitor attempts to scan their ID.
Any changes that have been made to the Alert List while the device is offline will not update until you see the "SYNCHRONIZATION" screen complete the portal sync again.
Once you come back online, the device will resync.
Any scans performed in OFFLINE mode will be uploaded to the veriscanonline.com portal.
Each scan will be timestamped based on the time on the device and inserted into the correct spot in the online history.
Any changes that were made to the portal will also be synced the next time you come back online.
Remember:
Please allow the SYNCHRONIZING screen to complete before closing the app or going back offline.
Profile Screen
Captured Information
All information automatically captured from the ID is displayed on the left side.
The following information is captured and displayed in this window:
|
|
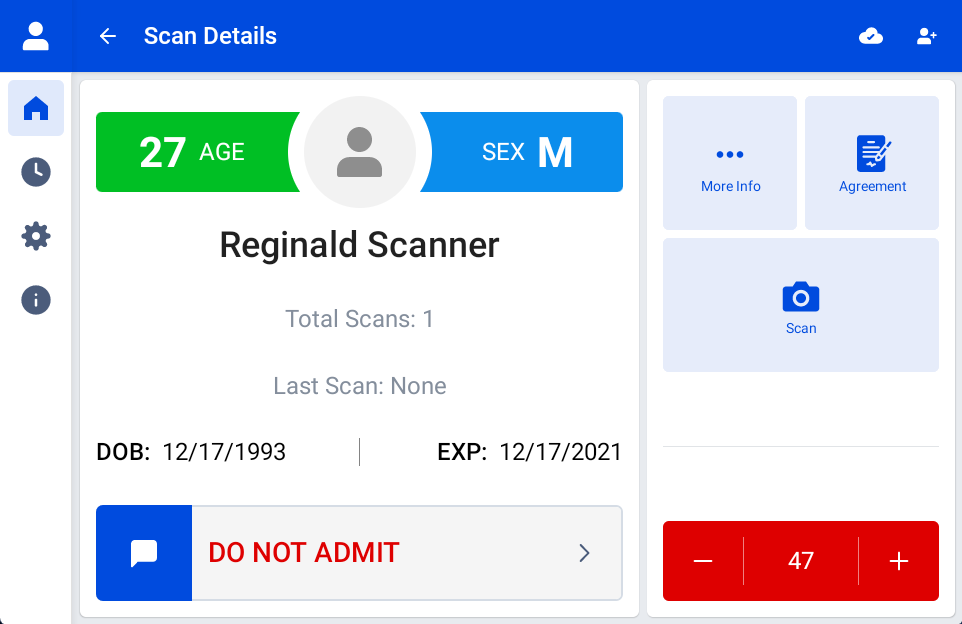
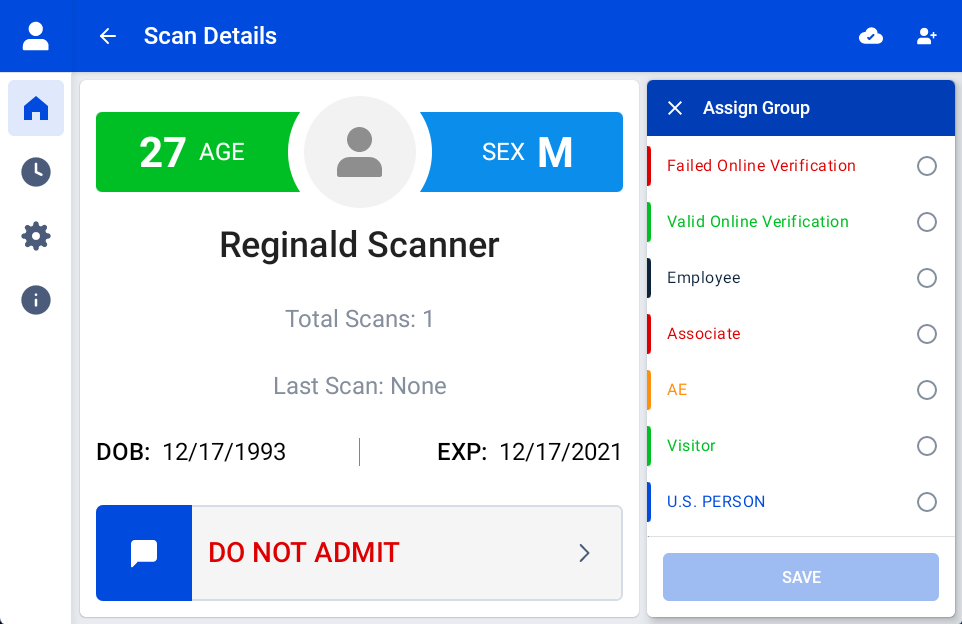
Group and Group Comments
You can see the previously assigned group of any visitor in the Group Banner at the bottom of the left window.
In the example below, you can see this person is in the "Do Not Admit" group.
Tapping the Group Banner opens the Group Selector menu on the right side.
Tap the appropriate group, click the Save button, and optionally enter a group comment to assign a group.
Agreement
Tap the Agreement button to open the agreement screen on the right side of the screen.
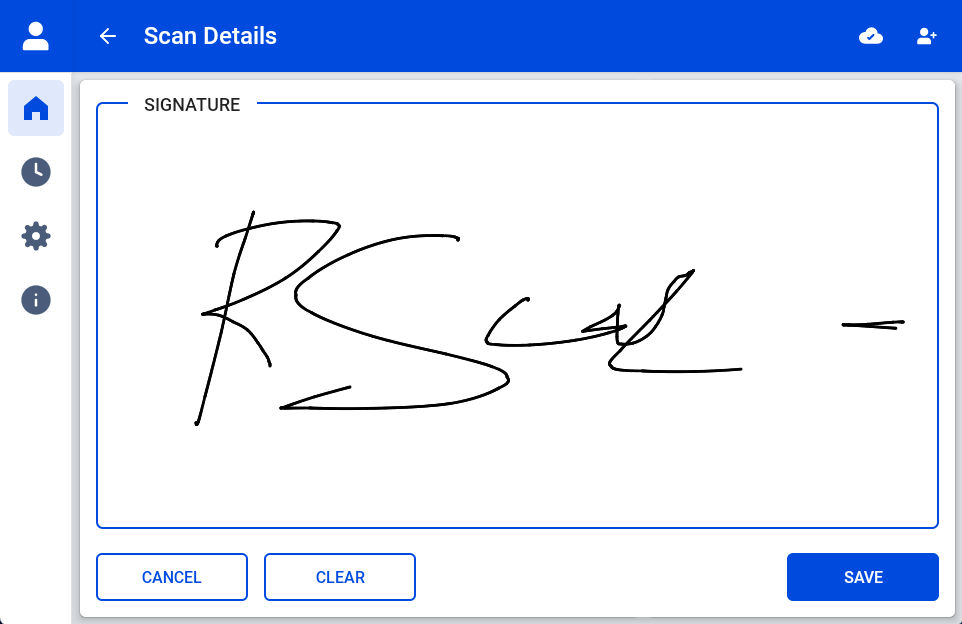
Your visitor can read the agreement and tap the signature area to sign.
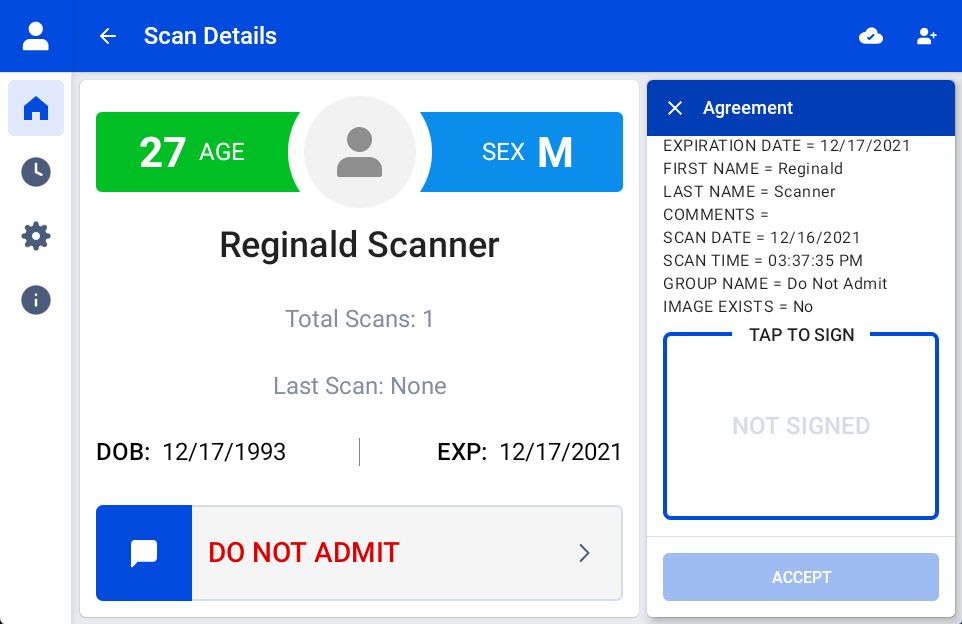
A signature box will appear on screen and your visitor can use their finger or a capacitive stylus to sign the screen.
- The Cancel button discards the signature and closes the signature screen.
- The Clear button discards the signature and allows another attempt.
- The Save button saves the signature and assigns it to the agreement.
- Able to view the signature preview in the Tap to Sign Window
- Will not save to the profile until the Accept button is pressed.
- The Acceptbutton saves the agreement to the visitor's profile.
- Agreement and signature are now ready-only and can no longer be updated.
- Agreement and signature can still be viewed from the profile view in the History screen.
After the signature is saved and the profile is closed, the agreement will be permanently saved to their profile.
It can be viewed in the Scan History screen and downloaded from the veriscanonline.com portal.
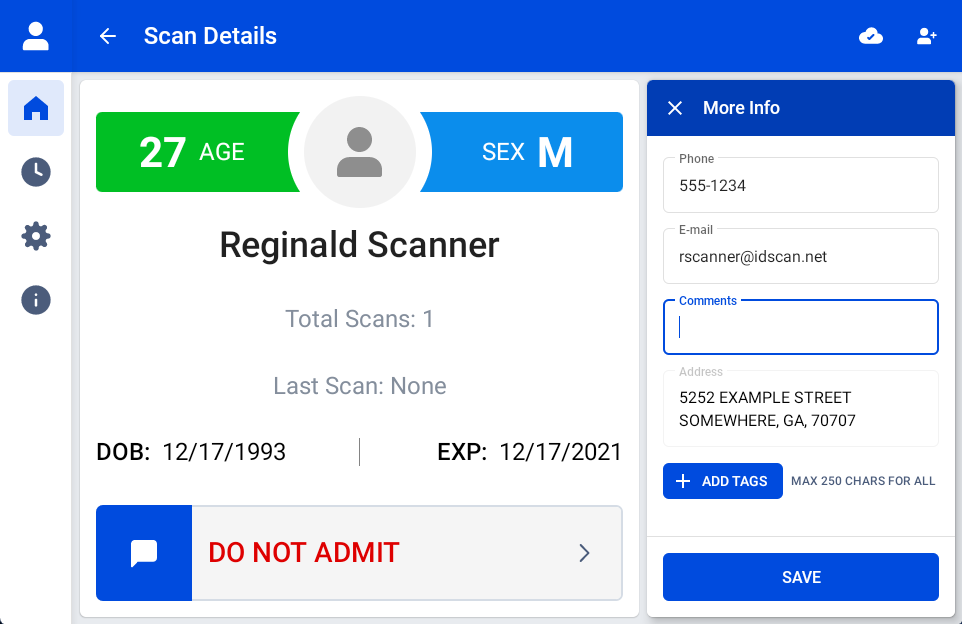
More Info
Tap the More Info button to see additional information about your visitor.
Here, you can add a Phone Number and Email Address to your visitor's profile.
This is not captured from the ID, but will be stored and saved for the next time you scan their ID.
You can also add a Comment to their profile to keep a general note about your visitor.
In addition to their group, you can use this menu to add Tags set in the veriscanonline.com portal.
History Screen
The history screen has been greatly modified to show more information at once.
The screen is split into two columns, allowing you to work on multiple actions at the same time.
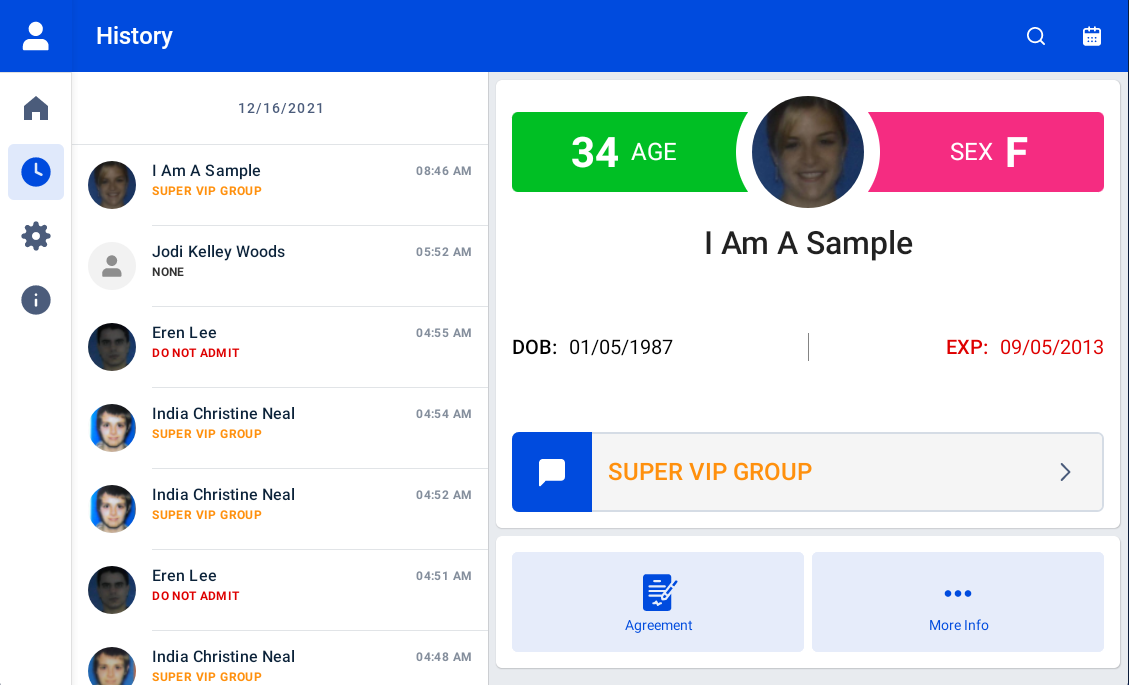
Scan History
On the left side, you can see the Scan History.
This is a list containing the Name, Profile Image, Group, and Scan Time of each of your visitors scanned on this device.
Tap on the name of one of the scan entries to open the Profile View for that visit.
You can still scroll through the scan history while the profile view is open.
Profile View
On the right side, you can see the profile view of your selected visitor.
You can edit the group and group comments for that visit, just like at the time of the scan.
You can tap the More Info button to view and edit the visitor's Phone Number, Email, Comment, and Tags.
You can also see the previously scanned address if present from the More Info screen.
If this visitor has signed an agreement, you can view their signed agreement by pressing the Agreement button.
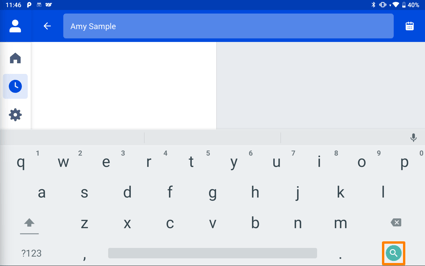
Search and Date Filter
Tap the Magnifying Glass icon in the top right of the screen to open the search bar.
You can use this search bar to quickly look up one of your previous visitors.

To close the keyboard after a search, you can do one of the following:
Press the Return key on your on-screen keyboard.
| Press the Return key on your on-screen keyboard. | Press the physical Back button. |
 |
 |
You can tap the Calendar icon to open the Date Filter options.
This will limit the visible scans to only those scans which took place within the specified time frame.
Be sure to set a From date and time and a To date and time, then press the Apply button.
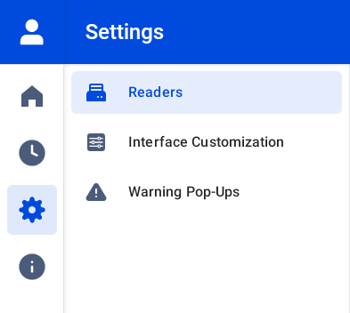
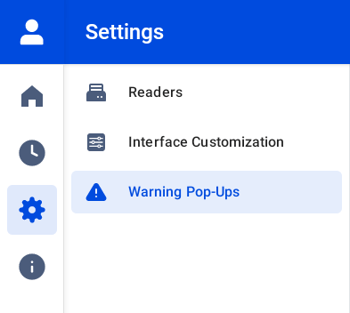
Settings Screen
Readers
Partner Scanner Toggle
- Enables or disabled the built-in scanner of the IDWare Falcon
- Recommended for users of IDWare devices
- Enables using an E-Seek M260 connected via USB Host
- Requires a device which supports USB OTG Host
- Typically not recommended
Interface Customization
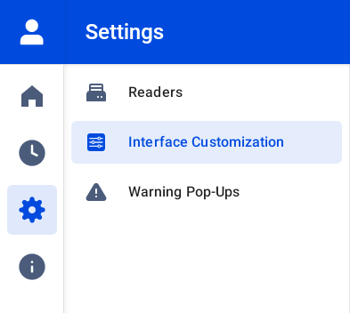
- Show or hide the button to run screening services at scan time
- Requires a separate purchase for each screening service
- Automatically runs each subscribed service at the time of each scan
- Enable camera scanning button for use with non-scanner devices
- Useful backup if an ID is not recognized by the laser-scanner
- Enable viewing and signing the agreement from veriscanonline.com
- Enable a button for when you cannot scan with the laser scanner
- Enable a widget to track the number of scans in the past 24 hours
- Press this button to reset the counter to 0
- Enable auto-launch of VeriScan Online app when the device restarts
- Allow veriscanonline.com to access the device's location
Warning Pop-Ups
Address Alert Toggle
- If the scanned ID matches the Address Alert List
- If the scanned ID is underage
- If the scanned ID matches the Alert List
- If the scanned ID is expired
- If the scanned ID's ZIP code is in the top 100 ZIP codes
Group Alert Toggle
- If the scanned ID is assigned to a group
- Enables sync the Alert List while in OFFLINE mode
- If the scanned ID matches the downloaded Alert List
- If the ID has been scanned within the timeframe set in the portal
Suspicious ID Alert Toggle
- If the format of the barcode does not match the expected format
- If manually entered data isn't consistent with known ID formats
- If you have questions about suspicious ID, ask our support team
Agreement Screen Toggle
- Automatically show the agreement screen after a scan
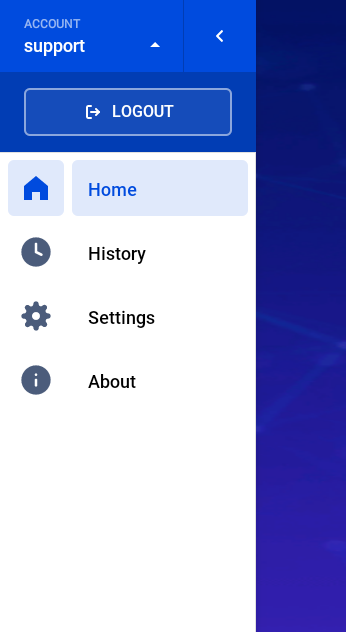
Logging Out
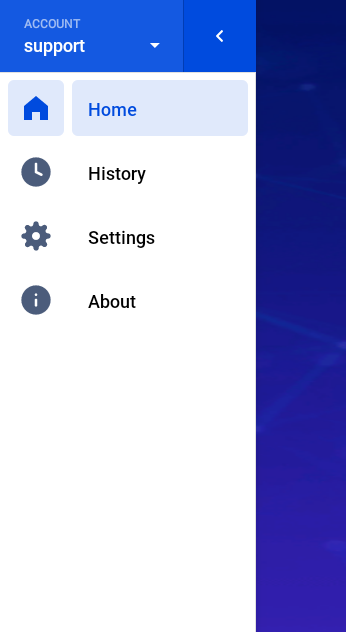
To log out of the app, follow these steps from any screen:
- Tap the Account icon in the top left corner of the screen (picture of a blank profile picture)
- Tap the Down Arrow next to your device's username
- Tap the Logout button that appears in the dropdown menu
| 1. Tap the Account icon | 2. Tap the Down Arrow | 3. Tap the Logout button |
 |
 |
 |
You should now see the Login Screen, indicating a successful logout.