Table of Contents
- Getting started in the portal
- Get started on your Windows PC
- I need to transfer to a new PC
- How do I use the new Device Manager?
Getting started in the portal
Account confirmation
We you sign up for a new ParseLink account, we send you an email with your login instructions for the my.idscan.net portal. Here, you can manage your subscription and any users who have access to the ParseLink Device Management Portal.
No account? No problem!
Click here to learn how to create a new ParseLink account.
To get signed into the ParseLink Dashboard, click this link to open the device manager.
You will be presented with a login to your my.idscan.net account, a unified account that manages products and subscriptions across all platforms.
Enter the credentials in the welcome email to the login page.
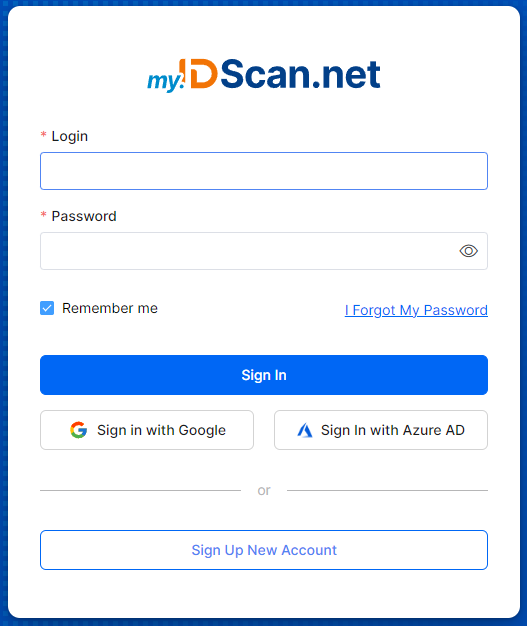
Once logged in, you can see your ParseLink subscription dashboard and device management.
- If you can't find that email, you can access your account by resetting your password.
- If you are not able to reset your password, or your email address is not found, please contact our technical support team for assistance.
Get started on your Windows PC
Installing ParseLink
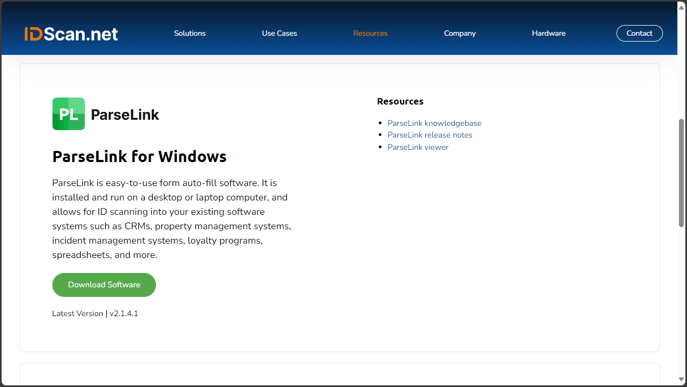
Download the ParseLink installer from our downloads page.
Run the ParseLinkSetup.msi installer.
Installing ParseLink on your PC requires admin rights on your PC. Contact your IT team for assistance if you are not able to run programs with elevated privileges.
Accept the license agreement and click next until the installer prompts you to install.
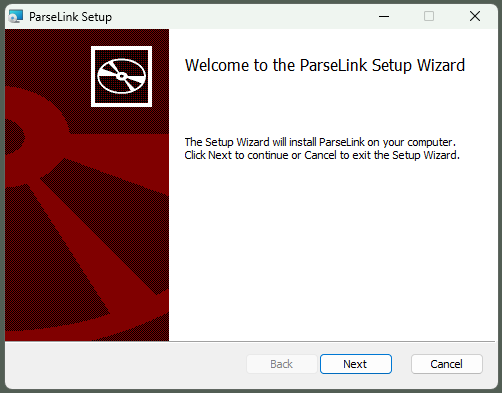
Once completed, click Finish to exit the installer.
Launching ParseLink for the first time
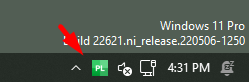
ParseLink should now be available to launch from your desktop and the Windows start menu.
Click on the green PL icon to launch ParseLink.

When ParseLink is running, you should see a green PL icon in the system tray.
I need to transfer to a new PC
Follow this guide to license a new ParseLink device using your existing seats.
How do I use the new Device Manager?
Check out this guide on how to use the new ParseLink device manager.