Table of Contents
Using Device Management to license a ParseLink device
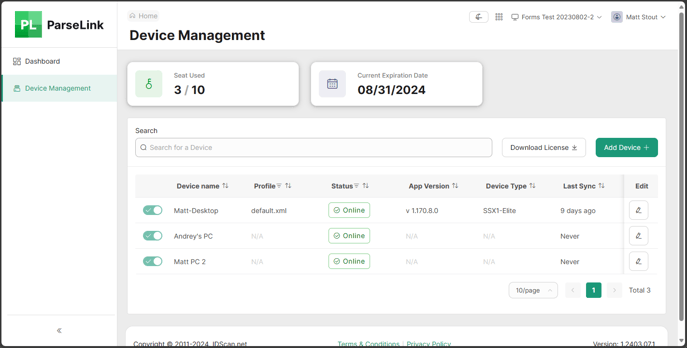
The Device Manager contains information about your currently licensed devices.
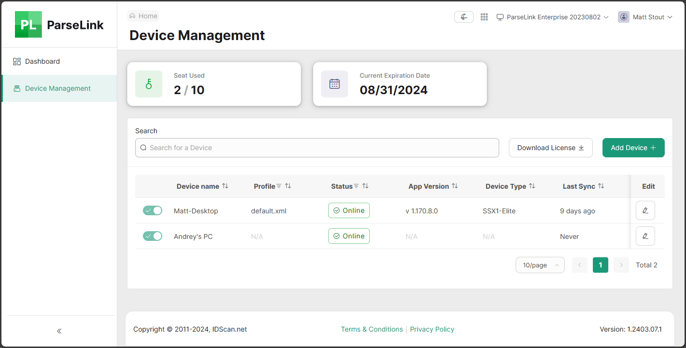
The devices table including sortable columns with information about each device. The columns include the device name, profile, status, app version, device type (scanner type) and the last sync.
Adding a device
Licensing a new device with ParseLink is easy. First, you'll want to get the Hardware ID from the ParseLink app on your PC. To get the hardware ID, follow these steps:
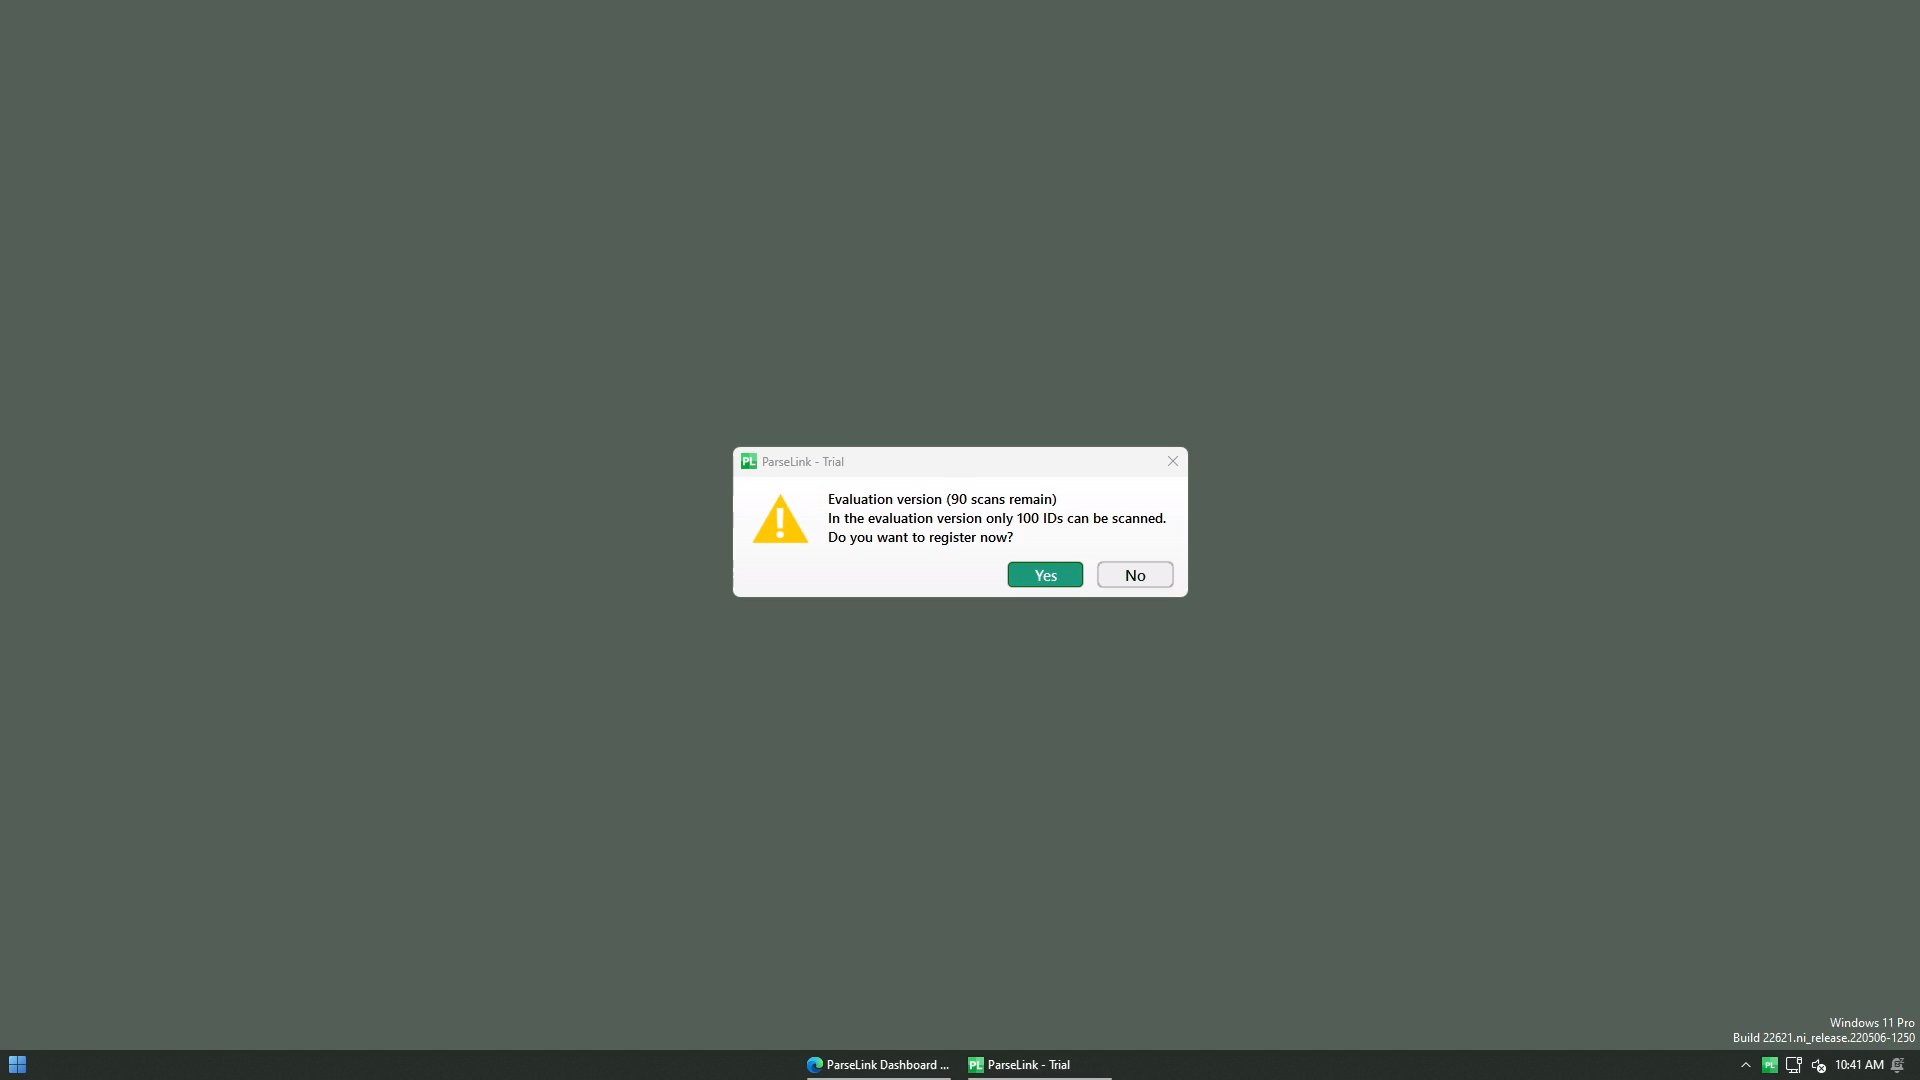
- Install ParseLink on your PC
- Right click the ParseLink tray icon and select Registration
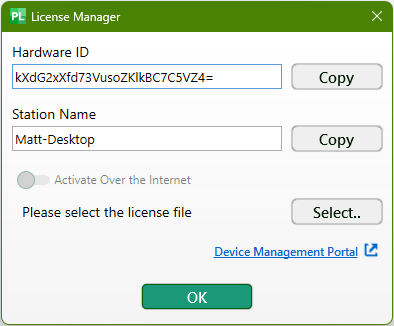
- A window will appear that looks like this:
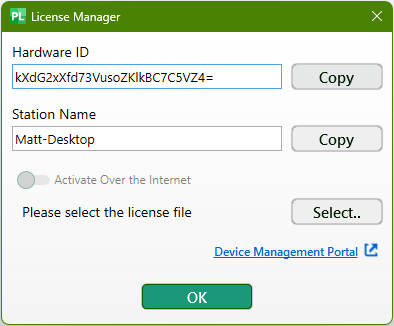
- Click the Copy button next to the Hardware ID to copy it to your clipboard
- Save this for later, you'll need to enter it into the device manager in the portal
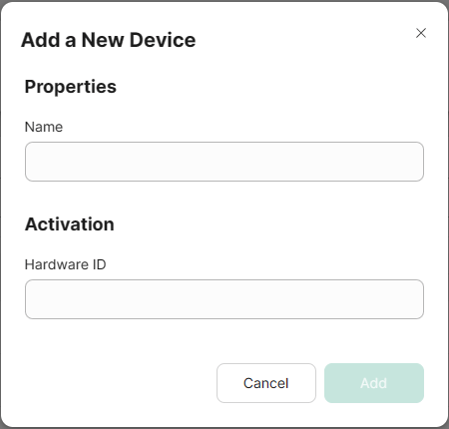
![]() Go back to the ParseLink Device Management page. Click on the green Add Device button in the top right side of the page. You will be presented with a popup asking for details about the new device.
Go back to the ParseLink Device Management page. Click on the green Add Device button in the top right side of the page. You will be presented with a popup asking for details about the new device.
|
Properties - Name Enter the friendly name for the device. This will help you easily identify which device is linked to the portal. If you're not sure what to put here, we recommend using the Station Name.
Enter the Hardware ID from the ParseLink app's registration window. This will add this PC to your license key file. |
 |
Once you have entered the information into the popup, click on the green Add button to add the device to your device list. Now, when you generate a license key file, this PC will be included in that file. The license key will work for all devices added into the device table.
![]() From the ParseLink Device Management page. Click on the Download License button in the top right side of the page. This license file work on all devices listed in the device table.
From the ParseLink Device Management page. Click on the Download License button in the top right side of the page. This license file work on all devices listed in the device table.

Finally, go back to the ParseLink app on your device(s). Right click on the tray icon and select Registration again to open the registration window once more. Next to where it says "Please select the license file" click on the Select button.
A File Explorer dialogue will open, which you can use to select the downloaded license key file. Select the license.lic file and open it. ParseLink should now be connected to your account and licensed.
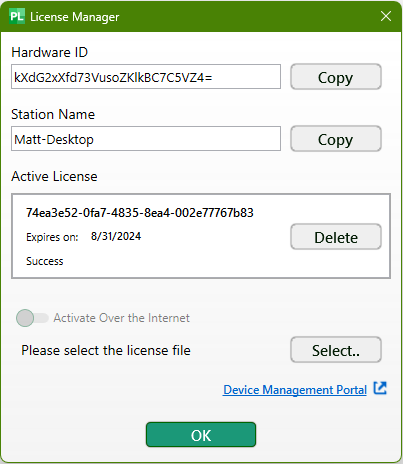
Now, you can use the ParseLink app, and information about your device will sync with the portal. It may take a few minutes for the device to send information about the profile, app version, and device type, so don't be alarmed if the columns say N/A when you first add your device.
Editing a device
If you need to change the friendly name of your device, you can click on the Pencil icon in the Edit column next to a device. This will bring up an Edit Device window which will allow you to change the friendly name.
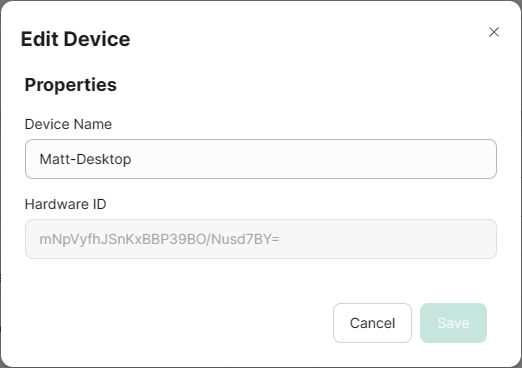
It is not possible to change the HW ID from this menu. To free a seat and transfer a license from one PC to another, you must first Disable the device and add a new one. This way, you can retain information about the previous device and avoid any sync issues.
Disabling a device
- Only a member of IDScan.net Technical Support can disable devices.
- To disable a device, please create a support ticket.
- A support person will review the ticket and reply, typically by the next business day.
Video How-To