Repairing the VeriScan application
If you're running VeriScan 3.3 or lower, you will first need to uninstall that version before installing VeriScan via the cloud installer. Don't worry, your settings and device login will be saved!
First installation
- Download the VeriScan cloud installer from our Downloads page
- Run the cloud installer you downloaded:
VeriScanInstaller.exe. If a new version of the cloud installer is detected, it will update itself first. - Go to Available tab
- Click Install for VeriScan 3

- Click Next to move from Description tab
- On the Components tab, select the option that matches the scanner you'll be using. This will install the driver and necessary components for your scanner to work properly within the VeriScan application. The Authentication Address Module is an optional component if you plan to use the ID Authentication plan.

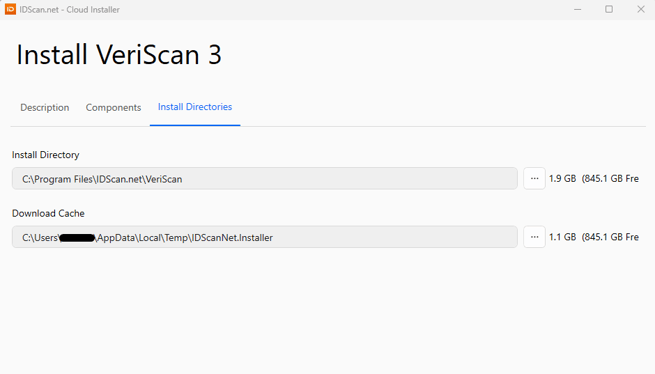
- Click Next to move to Install Directories tab. It's best to leave these as the default option unless your IT team requests that you do otherwise.
8. Click Install to start download and installation process. This can take several minutes if your connection is slower. 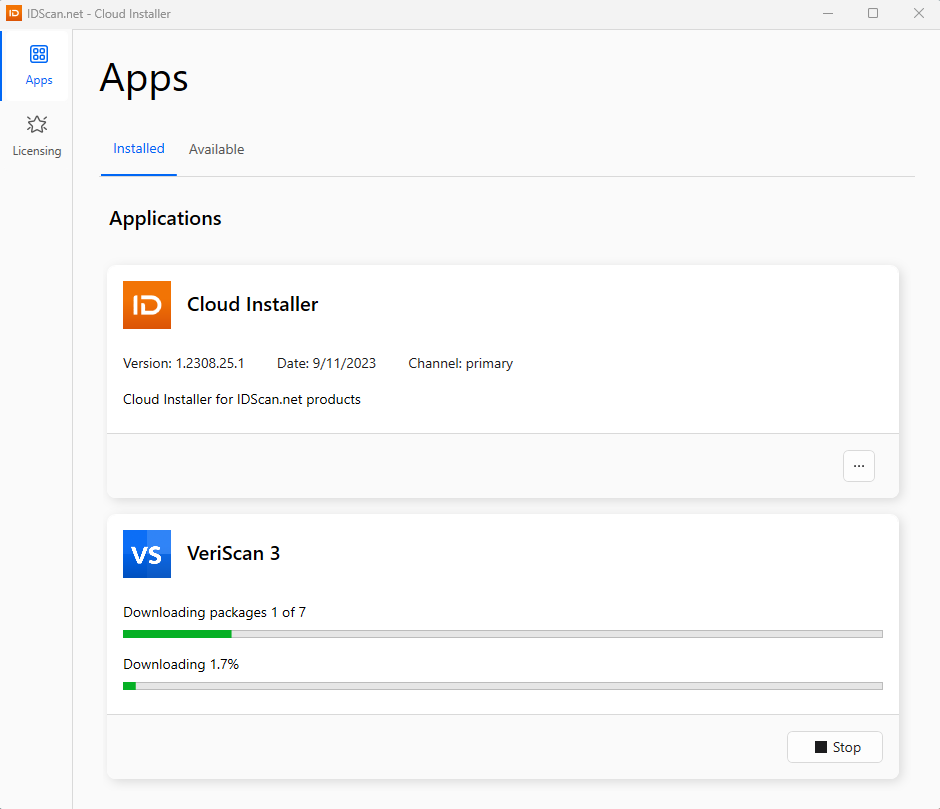
9. You're now ready to use VeriScan!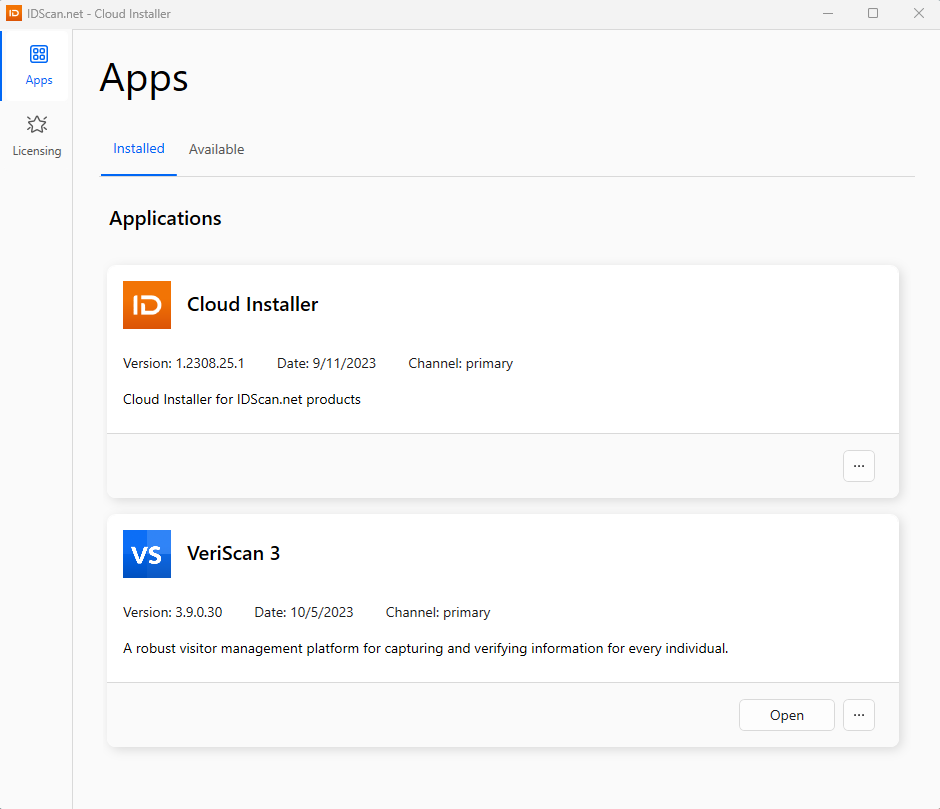
Updating to a new version
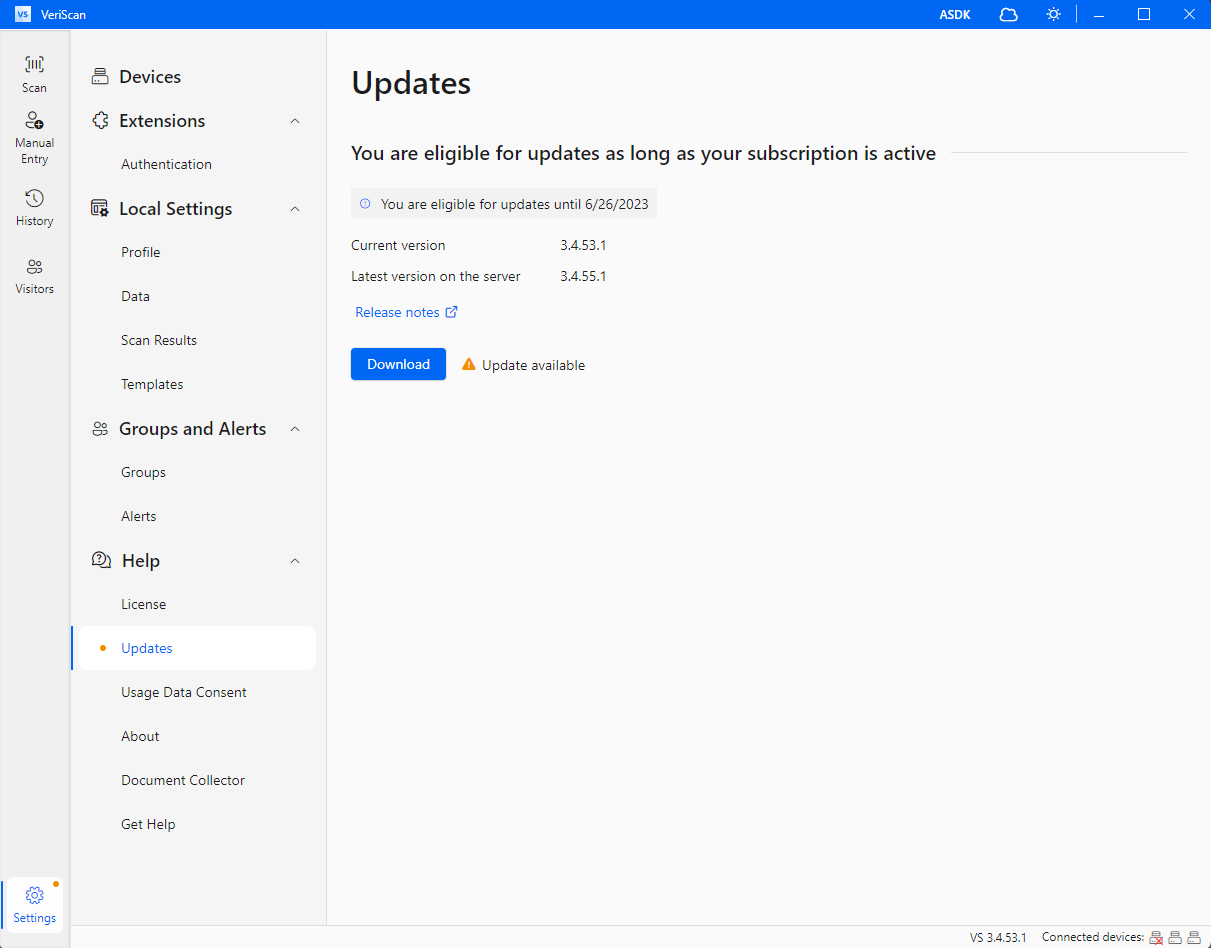
- When a new version of VeriScan is available, you will be alerted in-app.
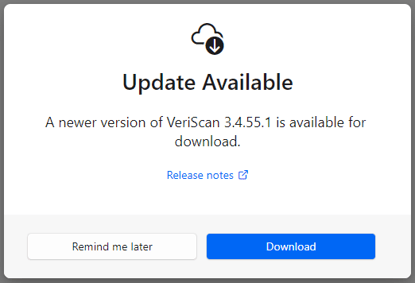
- If you click Remind me later, you will notice a notification in Settings > Help > Updates to know if you are on the current version or if an update is available.
- Clicking Download will open the installer, and an admin for the computer will need to click Yes to allow the app to make changes to your device. Then, close VeriScan and click Update.
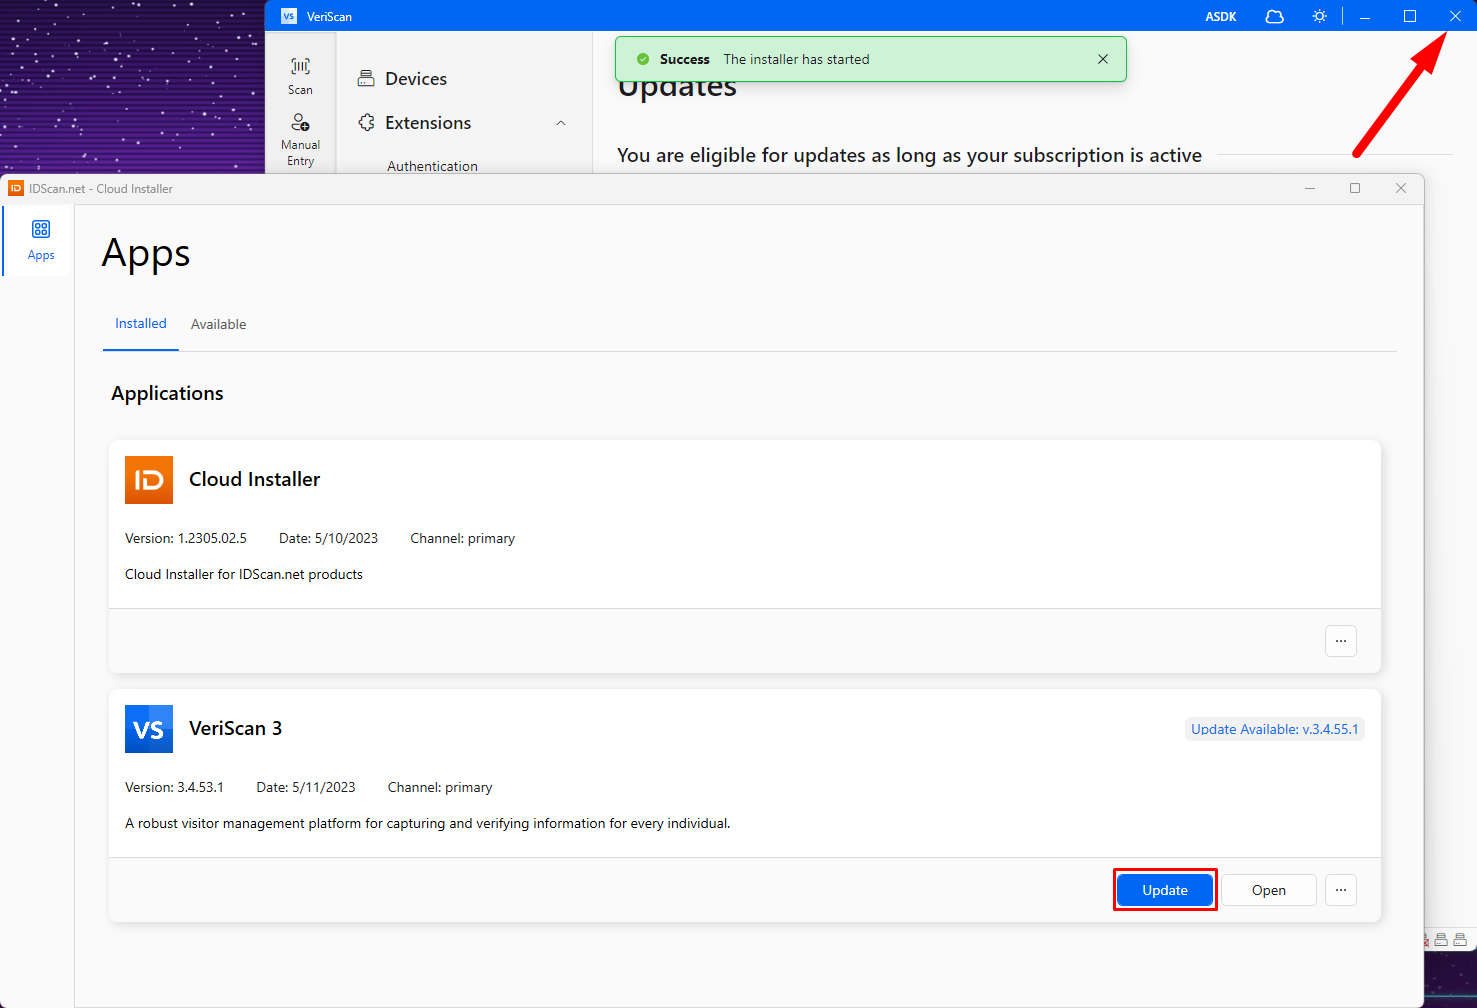
- Once you're up to date, you can click Open to return to VeriScan

Repairing the VeriScan application
If VeriScan alerts you that something is wrong with your installation, often times repairing it can fix the issue.
1. Open up the VeriScan Cloud Installer app
2. Select the ... icon to the right of the Open button
3. Select Repair
4. VeriScan will scan and redownload any necessary files.
