Table of Contents
- System Requirements
- Download and Install the VeriScan App
- Setting Up Your Scanning Device
- Sign Into Your VeriScan Cloud Account
- Migrate Your Existing Records
- Start Scanning
Applies To
Existing VeriScan Cloud Users Upgrading their machines from VeriScan 2
✔️ VeriScan Basic
✔️ VeriScan Premium
✔️ VeriScan Enterprise
✔️ VeriScan ID Authentication
This guide is intended for customers upgrading from a local-only license.
- For new VeriScan customers, follow this guide.
- For existing VeriScan Cloud customers, follow this guide.
System Requirements
System Requirements for VeriScan for Windows
Download and Install the VeriScan App
You can download the latest version of VeriScan for Windows from the Downloads page.
Before proceeding, make sure that your existing version of VeriScan is closed.
Once the installer is downloaded, run VeriScanInstaller.exe and follow the steps in the installer.
The installer will require Administrator access to your computer.
Set Up Your Scanning Device
Once you have the new VeriScan app installed, launch the VeriScan app and click the Settings button in the lower left corner.

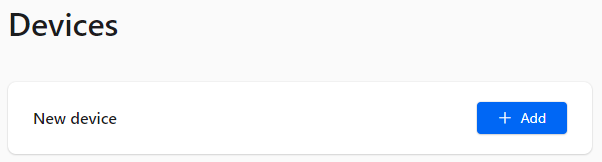
From the Settings menu, you can click on the Devices tab to add your scanners and other devices.

Click on the blue Add button to add a new device.
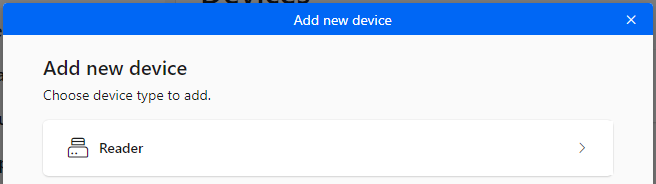
Choose Reader as your device type.
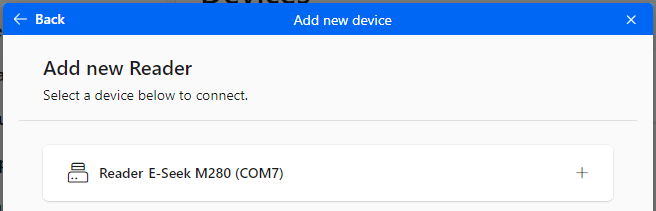
You should see your device listed in the available devices window.
Click on your device to connect it to the VeriScan app.
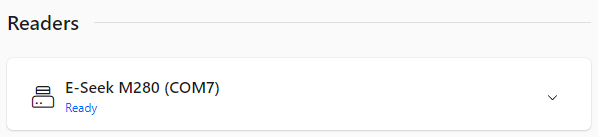
Your device will then be added to the list of active devices and begin initializing.
After a few seconds, your device will say "Ready."
Sign Into Your VeriScan Cloud Account
Once your device is set up, you'll need to sign into your VeriScan Cloud Account to start scanning.
If you don't already have one, create a VeriScan Cloud Account by following this guide.
First, click the Settings button in the lower left corner.
From the Settings menu, click on the License tab under the Help tab group.
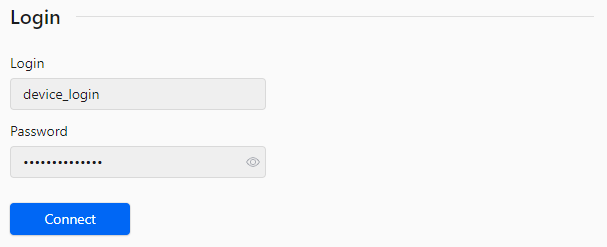
Enter your Device Login information into the Login and Password fields.
Then, click the blue Connect button to verify your account credentials.
Be sure to use your Device Login information. You will not be able to connect your device to your VeriScan Cloud app using your Portal credentials.
You should receive a popup banner at the top of your screen with a verification result.

As long as you are connected to the cloud, the top bar will remain blue.
- The small cloud icon indicates your subscription is active.
- The ASDK symbol means your Authentication Engine is licensed and running.

Start Scanning
Now that your device is set up and you're logged into your VeriScan Cloud account, it's time to start scanning. Click on the Scan button in the top left corner to go to the main screen.

At the center of the main screen, you'll see a green circle that say "Ready to Scan."
You can reach out to our Support Team if you have any questions or need assistance.
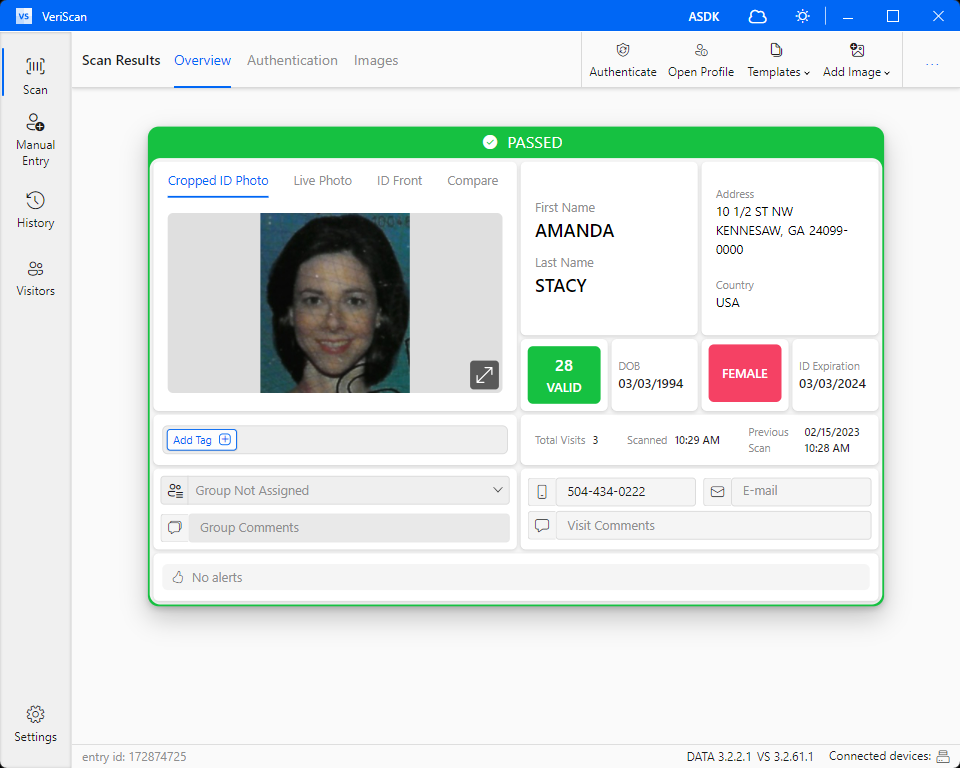
After a successful scan, you should see all the relevant customer details in the scan results screen:
To learn more about VeriScan for Windows, click here.